Sew a Tudor Coif: Intermediate Level Project
How to Make an Elizabethan/17th Century Coif
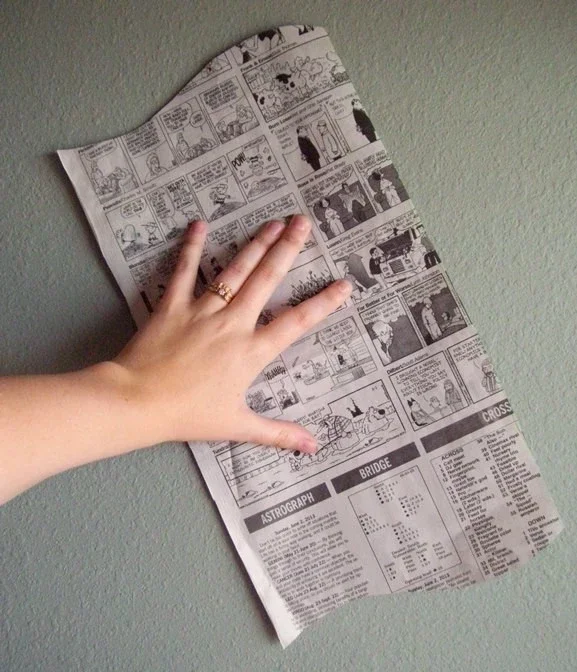
I used newsprint to create my pattern. Coifs from this period come in a variety of shapes, but most are based on a simple rectangle of fabric cut into a gentle urn shape. The top of the urn forms a widow’s peak at the top of the head and the curved bulge covers the ears. You can make your shape as simple or extreme as you like. Here’s my pattern:
You can test the paper pattern by pinning the top edges together. Bear in mind that the fabric coif will be smaller because of your seams.
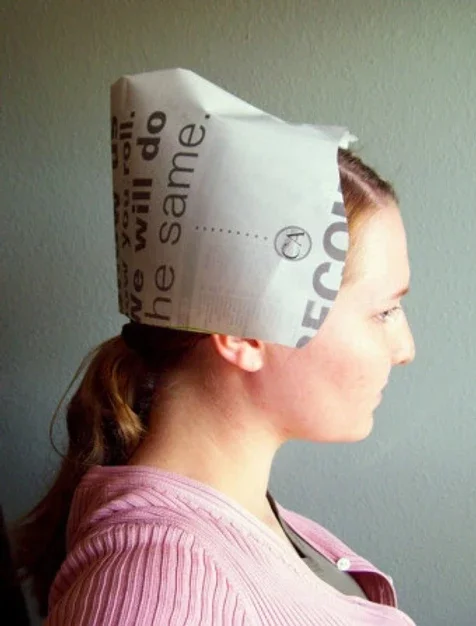
Opportunity for excellent party hats? I think so!
Since I cannot embroider well enough, I prefer to use pre-embroidered fabric. Finding a pre-embroidered fabric with a proper motif and decent colors on a suitable fabric can be a real challenge, but I was lucky enough to find an embroidered cotton shirt for $3 at the local thrift shop. While it’s not perfect, it’s close enough!
For my lining, I used some cheap cotton sheeting from my stash. Elizabethan coifs could be lined or unlined. Many had removable linings so when the inside got dirty, the lining could be removed and washed, saving the delicately embroidered outside from wear and tear. Since my fashion fabric is completely washable, I sewed the lining into my coif as a permanent feature.
I really wish I’d taken more construction pictures, but I was too excited to pause for photos. I sewed my coif using backstitches set about 3/8 inch away from the fabric edge for clean seams. If your lining has a right side, make sure it faces the right side of your fashion fabric so when you turn it inside out, it faces the proper way.
The drawstring casing can be done multiple ways, but just turning up the bottom edge worked best for my coif. I used backstitching again to close the casing because it’s strong and you can manipulate the stitches so that they hardly show up on the outside of the fabric. Since the seam can be seen from the outside of the coif, I made sure the outside stitches were as small as possible.
This is the front edge of my coif, showing the smooth seam you get when you use the “pillow” sewing method to connect your lining. To make the front edges crisp, iron them from the lining side before and after sewing the drawstring casing. You can see the stitches on the inside of the drawstring casing on the right.
This is the most complicated-looking step, but it’s actually rather simple. You’ve already finished 2/3 of the top edges by sewing them in step 3, so all you need to do is whipstitch the very top edge shut with small stitches. When you reach the end of your finished edge, sew around the unfinished edges. You can adjust how your coif fits by gathering more or less fabric. Gathering less fabric will make the coif pointy at the back while gathering more will give it a rounder look.
I used bias tape fror my drawstrings because it was what I had immediately on hand, but you can make ties out of yarn, linen tape, twill tape, shoelace, or braided cord. Threading your ties can be tricky. Some people like to use safety pins while others use wire to help guide it through the casing. I used a cheap, thin pair of tweezers to hold one end of my drawstring while I used the other end of the tweezers like a giant needle, pushing it through the casing.
Done!
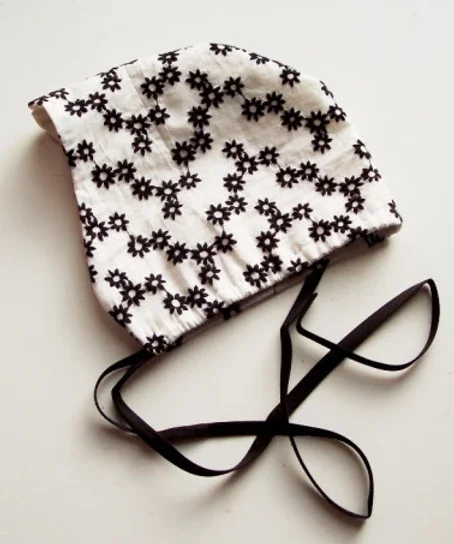
I would like to trim my next coif with a little bit of lace along the front by sewing it inside the seams in step 3. I would also like some twill tape for ties instead of my last-minute bias-tape drawstring, and to take pictures with the strings wrapped around the top like they are supposed to be worn. But for a blind first attempt, I’m rather proud of it!